Homemade Deviled Ham Spread
/A quick and easy recipe for deviled ham spread. No need to buy those little cans anymore. Make your own and know what it is in it. Super yummy! You won’t be disappointed.
Read More
A quick and easy recipe for deviled ham spread. No need to buy those little cans anymore. Make your own and know what it is in it. Super yummy! You won’t be disappointed.
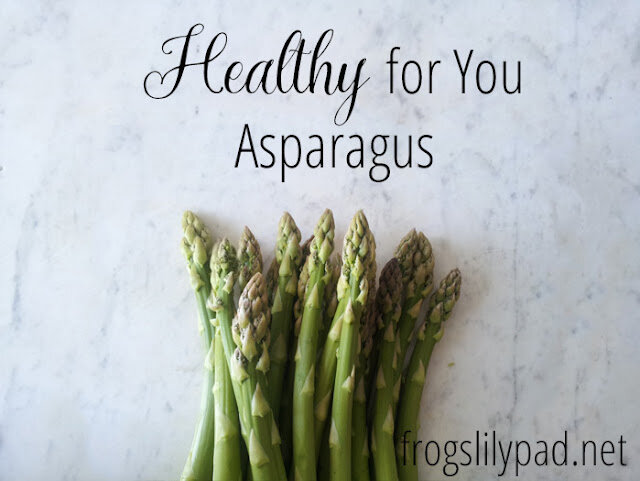
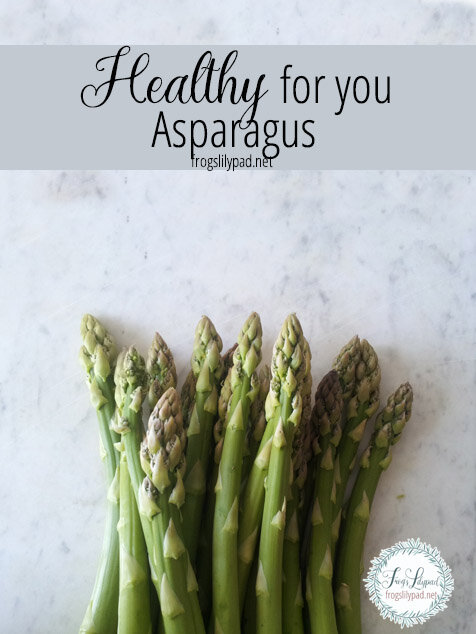
Read MoreAsparagus is one of those vegetables you either like or you don’t. We never ate it while growing up so I honestly didn’t know if it was something I would like. My dad loves it and shared a bite with me at a restaurant about 10 years ago. It was in a salad and I couldn’t get over the woody taste. That taste caused me to wait seven years before I would try it again.
Because of my sister talking about them, I tried cooking Asparagus and Brussels sprouts. She told me to make sure the Asparagus stem snaps in the natural area it wants to bend. This would keep from getting the part of the stem that has the woody taste. Although the Brussels sprouts won my heart, my husband continued asking for Asparagus. Oddly enough, I researched Asparagus and found it to be on the high purine list of vegetables. This worried me because of my husband’s gout, when you watch someone suffer from the pain and effects of gout, you want to avoid any purines if possible.
Back in February, I cooked Asparagus because it had been asked for and I cringed while cooking because I knew what was going happen. I was ready for the “I told you so” part that would come in the next day, but it never came. For several days afterwards, my husband talked about how good his ankles felt even after long days of driving. So, I bought another pound of Asparagus and we tried it again the next week. The only thing I did differently, I divided the Asparagus up for several days because the feel good feeling didn’t last longer than several days.
I researched Asparagus again, this time for all the health benefits it has to offer. Let me tell you, these little vegetables are packed full of healing benefits.
One cup of Asparagus contains vitamins A, C, E, K, and several B vitamins along with folate, copper, iron, calcium, protein, and fiber. There are also anti-inflammatory and antioxidant properties and the cancer fighting compound, glutathione.
No wonder my husband was feeling so well after eating this little miracle vegetable. Those anti-inflammatory properties are a huge benefit for joint pain.
A whole cup of Asparagus only has 20 calories. That calorie count should be a little encouragement for those dieting.
While Asparagus has a higher count of purines than many other vegetables, plant purines are less concentrated than animal purines. This means the rise in uric acid levels will not be as high a risk like animal purines. For my husband, I tend to worry a little so I make sure he is not eating anything that could trigger his gout when eating Asparagus. As long as he is not seeing any bad side effects, I’ll continue cooking this little vegetable for him.
I was a little surprised to find this little vegetable to be a wonder pill for my husband. But thankfully, it’s a food we don’t have to sacrifice eating. Because of the health benefits in Asparagus, I think I could learn to love them.
There are many yummy recipes for asparagus. But since I cook only a handful at a time most nights, I sauté them. If you are cooking a full pound of asparagus, you can double the seasonings for your taste.

Simple Sautéed Asparagus
Ingredients:
Asparagus
Oil - enough to coat the stems
Pinch of salt, pepper, garlic powder, and Italian seasoning
Directions:
In a small container mix the dry ingredients with oil. Toss the asparagus with the oil mixture and sauté for about 5 minutes. Remove from pan.
Disclaimer: I am NOT a healthcare provider. I am simply a wife who is sharing what she has learned from research and a trial and error routine of finding healthy foods for my husband to enjoy.


The articles found at Frog's Lilypad are for informational purposes only.
The owner will not be held liable for losses, injuries, or damages for the use of the information found on this website.
I am NOT a healthcare provider. I am simply a wife and mom who is sharing what she has learned from research of finding healthy foods and all natural methods for my family to enjoy.
Frog's Lilypad is a participant in the Amazon Services LLC Associates Program, an affiliate advertising program designed to provide a means for us to earn fees by linking to Amazon.com and affiliate sites. You can read my disclosure HERE.
